If you are new to WordPress embeds for posts, please read this article for context.
If the posts from your site are embedded in third WordPress sites or even in your own site, the design and customization options are very limited. We change that with Post Embeds plugin.
Installation
Log in to the WordPress admin dashboard.
From the left-hand menu, navigate to Plugins > Add New.
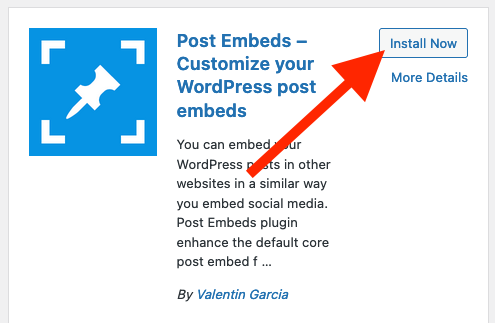
In the search field, type “Post Embeds” (with quotes) and press Enter. The plugin should appear in the search results.

Click the “Install Now” button for the “Post Embeds” plugin. WordPress will download and install the plugin for you.
Once the installation is complete, click the “Activate” button to activate the plugin.
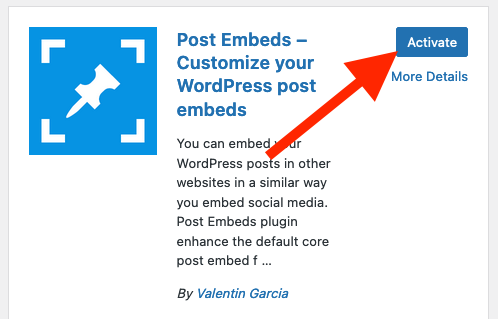
The “Post Embeds” plugin is now installed and activated on your WordPress site.
Plugin Settings
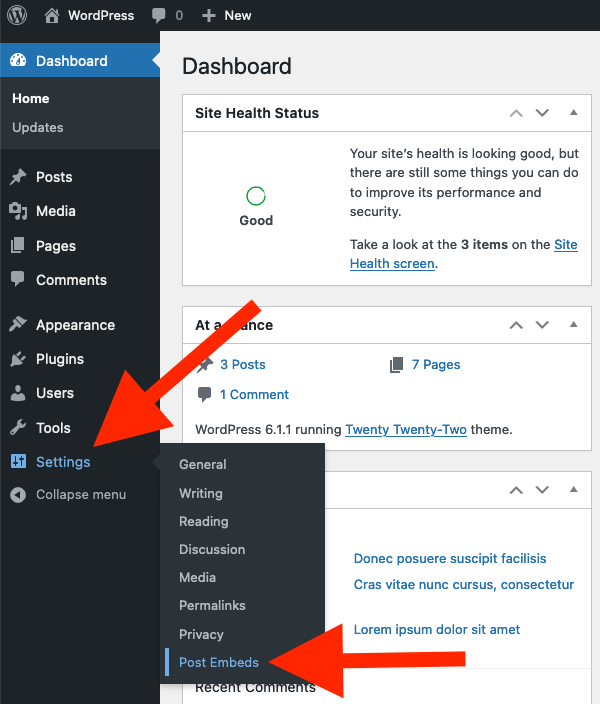
To reach the Post Embeds settings page:
- Go to Settings
- Post Embeds
Here you can choose the embed style between:
- Default
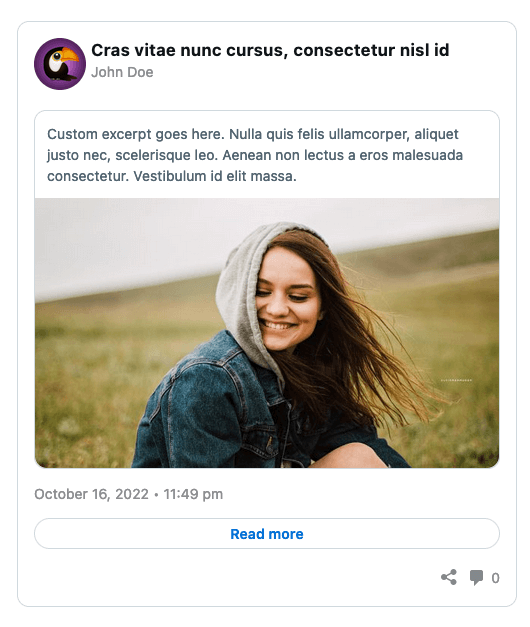
- Social Mark (emulates Facebook embed design)
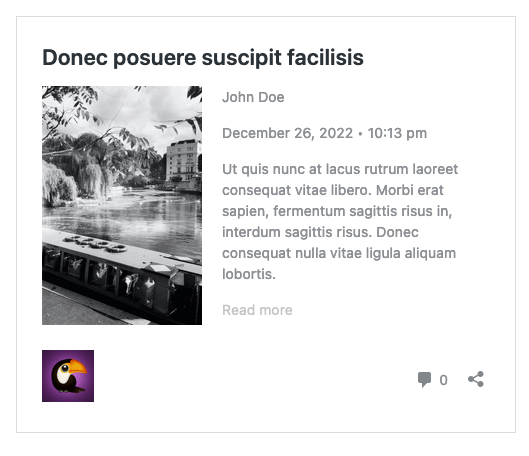
- Social Bird (emulates Twitter embed design)
Also you can customize which information to display such as author, date, time, read more and more. You can apply the settings to desired post types. As example: display date and time in posts but not in pages.

Post types
Post Embeds supports posts and pages, however Post Embeds Pro adds support for WooCommerce products.
Embed styles
In Settings page, look for Embed Style option:

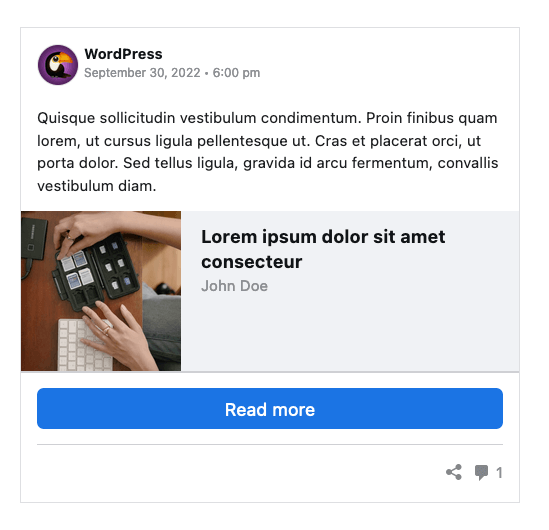
Social Mark
When you choose “Social Mark” as Embed Style, this is how your post embeds would look:
Social Bird
When you choose “Social Bird” as Embed Style, this is how your post embeds would look:
Default
When you choose “Default” as Embed Style, this is how your post embeds would look:
Favicon
Your site favicon will be displayed in the embeds.
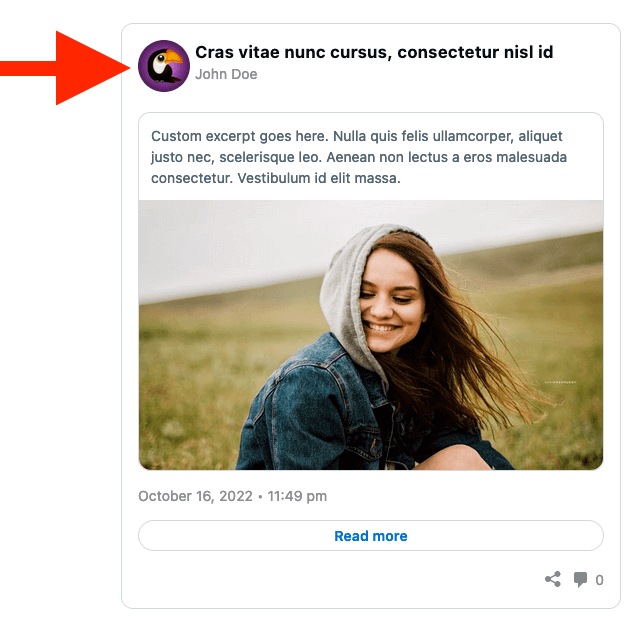
More information about changing your site favicon in this article.